Streamline Payment Reporting and Account Management
Table of Contents
Accessing payment reporting
- Edit your profile + update password
- Account team members
- View and download your statements
- Manage your company profile
Accessing payment reporting
To view payment reporting, follow these steps:
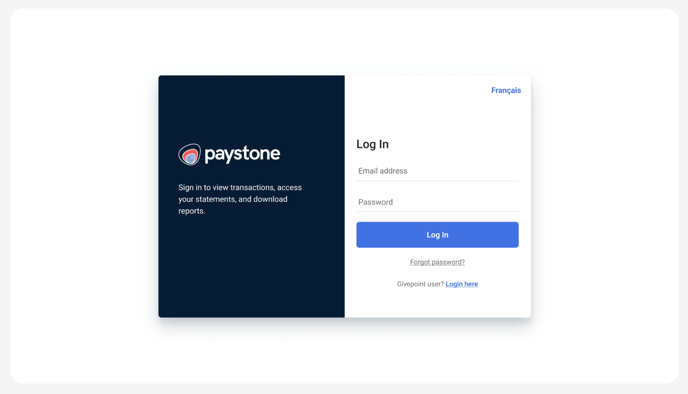
- Open a web browser and go to hub.paystone.com.
- On the login page, enter your email address in the designated field.
- Enter your password in the password field.
- Click on the "Log In" button to proceed.
Once logged in, you will have access to payment reporting and view detailed information about your payment transactions, including sales data, revenue, and other relevant metrics.
Switch company view
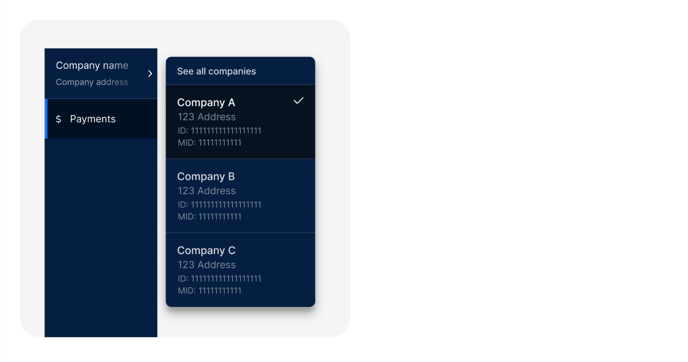
If you belong to a multi-location account, you can access reporting for specific locations by switching your company view. This feature is exclusively available for multi-location accounts, allowing you to focus on the reporting data relevant to each specific location.
- Locate the company switcher at the top of the navigation menu on the left of the screen and select it.
- A menu will appear presenting you with a list of all the companies associated with your user account. This list includes all the locations you have access to.
- Select the desired company or location from the menu. By choosing a different company, all the reports and data will be updated to reflect the selected location.
- After selecting the new company, the page will refresh, and you will now have access to the reporting for the chosen location.
Navigate your payment data
Navigate and explore your payment data effectively within the payment reporting hub.
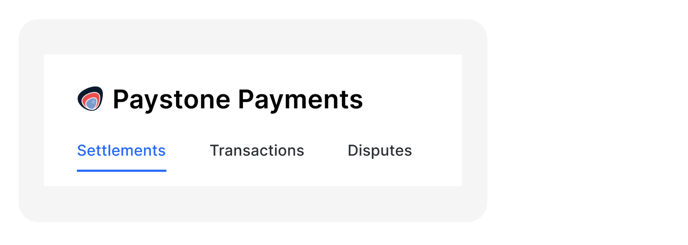
Tab navigation
Easily navigate through settlements, transactions, and disputes by using the tab options located at the top of your payments page. This convenient tab system allows you to switch between these sections effortlessly, providing quick access to the specific data you need.
Ever-present filters
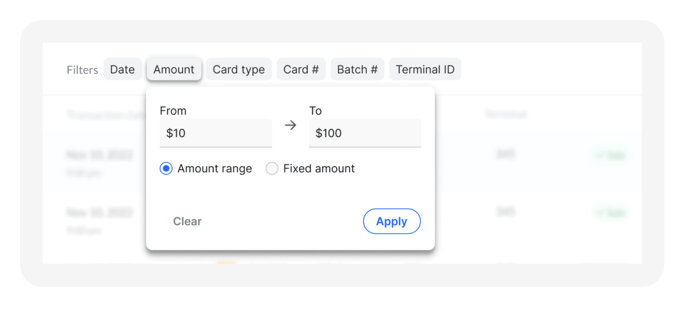
Find specific payment details faster with seamless and ever-present filters.
- Click on the desired filter:
- Choose the filter that corresponds to the date or criteria you want to drill into.
- For example, if you want to filter by a specific date, click on the date filter.
- Apply the filter:
- After configuring the desired filter options, click the "apply" button.
- The table data below will automatically adjust and display the filtered results based on your selection.
- Apply multiple filters (optional):
- If you need to further refine your search, you can apply additional filters.
- Simply select the additional filters you want to apply, such as amount, card type, card number, batch number, or terminal ID.
- Clear a specific filter:
- To remove a specific filter, click on the active filter and select "clear" for that particular filter.
- Clear all filters (optional):
- If you have multiple filters applied and want to remove all of them at once, locate the "Clear All" option located to the right of the filter buttons.
- Click on this button to remove all the filters and reset the table data to its original state.

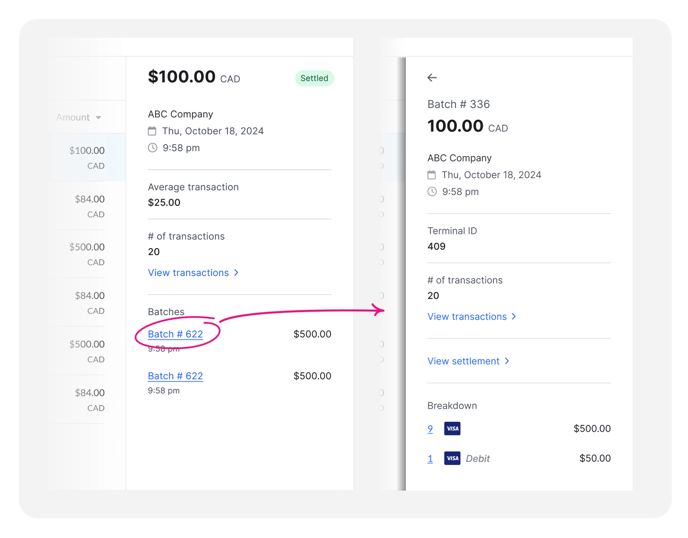
Details preview
Access all relevant information on a single screen with the handy right-side panel. This panel provides a comprehensive view of the details related to your payment data. It includes quick links that direct you to additional data, such as batch information and settlement specifics. The table view also allows easy navigation to explore further information.
Export a report
To export a report click on the "Export Report" button found at the top right of the payments screen to initiate the export process. The report will automatically download to your computer. Currently reports are in csv format.
Note: If you have active filters applied on the page, the exported report will reflect the filtered data. However, if no filters are selected, the report will download all your available data.
For substantial amounts of data, the system will notify you that the file size is large. In such cases, the system will generate the report and email it to you once it is ready for download.
Explore your settings
To access your settings, locate the settings option at the bottom left of the navigation bar on the left side of the screen.
Edit your profile + update password
Simply navigate to Settings > Profile or go to hub.paystone.com/settings/profile to edit your profile. Here you can update your profile information and change your password.
Account team members
Adding Team Members
To add team members to your account, follow these steps:
- Simply navigate to Settings > Account & Billing > Account Team or go to hub.paystone.com/settings/account/team
- On the Account Team page, you will find a list of all current team members.
- Locate the "Add team member form" on the top of the page and enter the name and email address of the user you wish to add.
- Click the "Invite" button to send an invitation to the user to join your account team.

Roles
There are two primary account level roles available to our payment customers: 'Owner' and 'Manager + Payments'. Here are some important details about these roles:
- Owner: An account can have only one owner. This role holds administrative privileges and has full control over the account settings and team management.
- Manager + Payments: This role provides comprehensive access, including payment reporting and related features. Multiple team members can have this role, allowing for collaboration and delegation of responsibilities.
Please note that currently, both roles share the same permissions, with the exception that only one account owner is allowed per account.
Removing Team Members:
To remove team members from your account, follow these steps:
- Locate the user you wish to remove from the team.
- To the right of their current role, you will find a menu icon. Click on it.
- From the menu options, select "Delete" to remove the user from your account team.

View and download your statements
Simply navigate to Settings > Account & Billing > Statements or or use the shortcut button “View statements” from the payments reporting page or go to hub.paystone.com/settings/account/statements
- Navigate to statements
- Locate the statement you wish to download
- Select the downward arrow icon to the far right and download
- Statement will download to your computer

Manage your company profile
Simply navigate to Settings > Company > Company profile or go to hub.paystone.com/settings/company/profile. Here you can update your company information.
Note, if there is an address change one of our Customer service representatives will be in touch with you to update your application to reflect the change.
.png?height=120&name=Logo_1131x105%20(1).png)